Checking on Files
Track the status of your uploaded files and review completed results from the Client Dashboard.
Overview
After you upload files, the Client Dashboard is where you keep tabs on everything. The dashboard shows two tables: File Review Results (completed reviews, when enabled for your account) and Uploaded Files (every file you've submitted, along with its current status). Both tables can be filtered, searched, and sorted without ever leaving the page.
Check any time. You don't need to wait for an email — the dashboard reflects the current state of your files the moment you sign in.
Opening the Dashboard
Sign In
Sign in at ajjcs.net/clients. You'll land directly on the Client Dashboard.
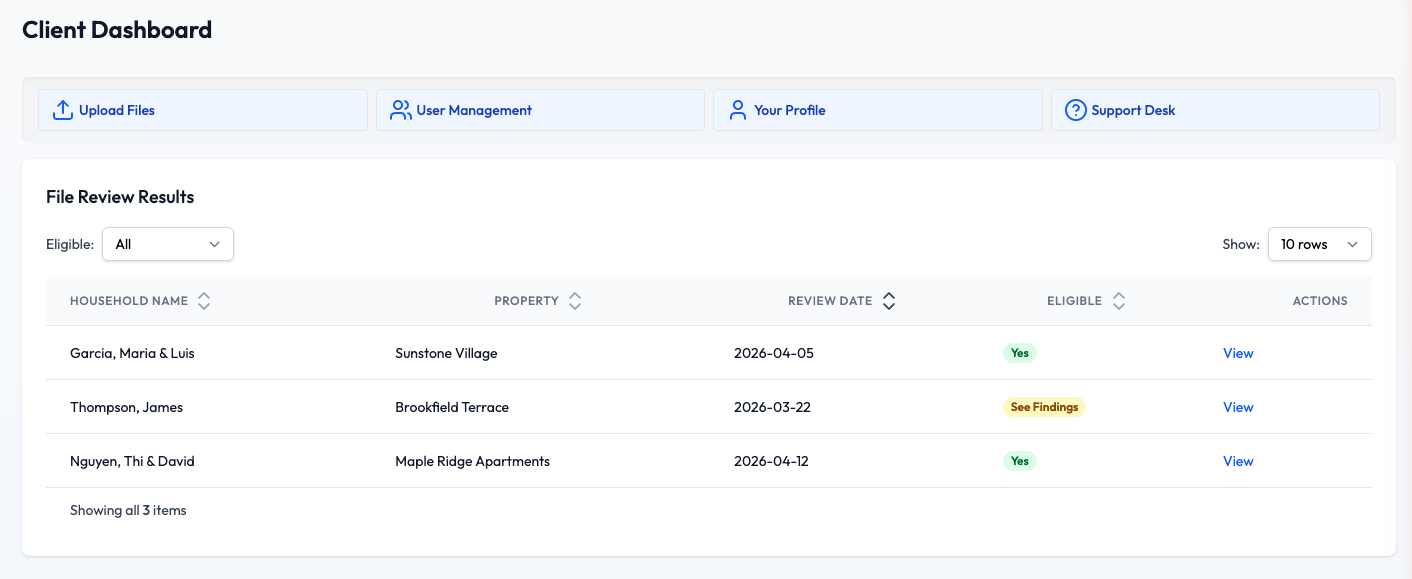
The Client Dashboard, with the quick-actions bar and File Review Results table.
Focus on One Property (Optional)
If your email has access to more than one property, a Property dropdown appears in the top right of each table. Use it to switch between All Properties and a single property so the rows below match.
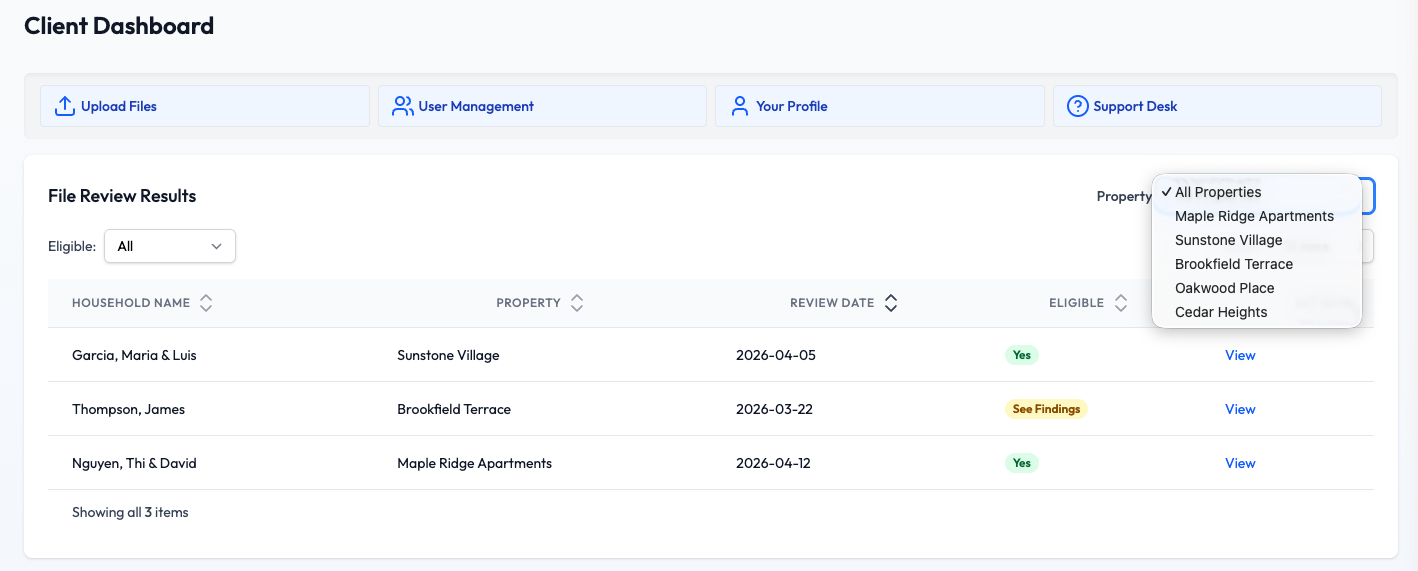
The Property dropdown lets you filter to a single property at a time.
Viewing File Review Results
When a review has been completed, the household it covers shows up in the File Review Results card. Each row summarises the review at a glance so you can spot anything that needs your attention.
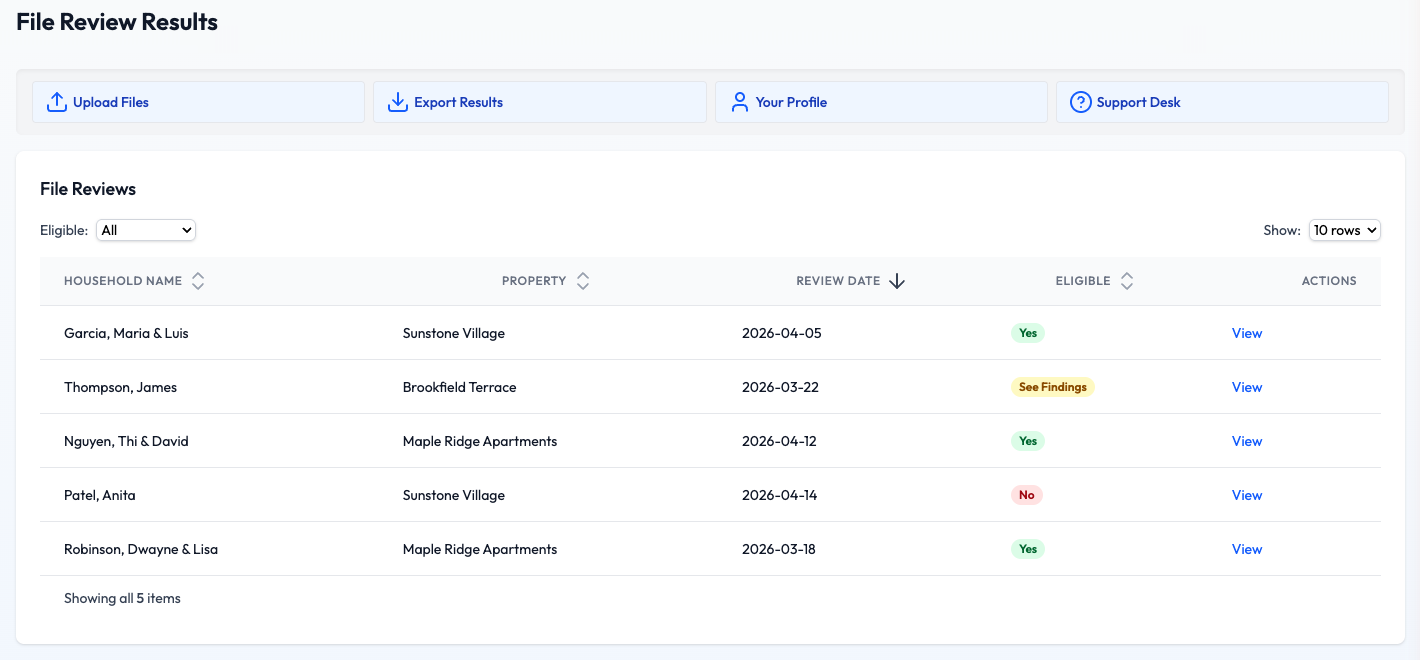
The File Review Results card, showing one row per household review.
Read the Eligible Column
The coloured pill in the Eligible column is the quick summary of each review:
Narrow Down the List
Use the Eligible filter (All / Yes / No / See Findings) to focus on a subset, or click any column header to sort by Household Name, Property, Review Date, or Eligibility. The Show dropdown controls how many rows appear per page.
Open a Full Review
Click View in the Actions column to open a slide-in panel with three tabs:
- Review Details — the full write-up, including any findings or rejection reasons.
- Notes — comments tied to the review (both yours and ours).
- Timeline — a running history of every status change on the review.
Tracking Uploaded Files
The Uploaded Files card lists every file you've sent us. This is where you can confirm a recent upload landed successfully or drill into an individual document.
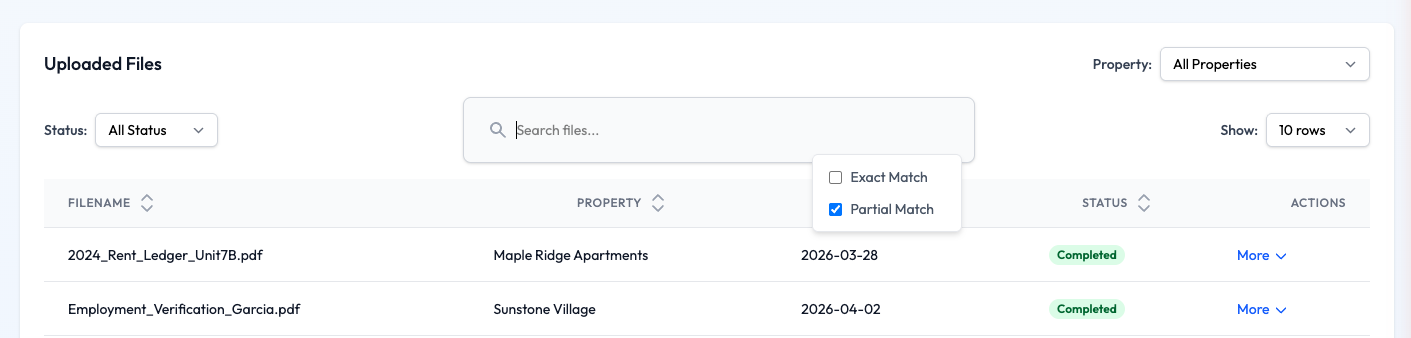
The Uploaded Files card, with Status filter, Search, and match-type options.
Understand the Status Column
Each file's status pill tells you where it sits in the review process:
Filter, Search, and Sort
The Uploaded Files table has a few tools to help you find a specific document:
- Status dropdown — limit the list to Pending, In Review, or Completed files.
- Search files… — type any part of the filename. Use the Exact Match / Partial Match toggle that appears next to the search box to decide how strict the match should be.
- Column headers — click Filename, Property, Upload Date, or Status to sort by that column.
- Show dropdown — switch between 10, 25, or 50 rows per page.
Open the File Details Panel
In the Actions column, click More ▼ to open a slide-in panel. It has two tabs:
- File Details & Notes — document metadata, any rejection reasons, and a place to add or read notes.
- Timeline — a chronological view of everything that's happened to the file.
Need to give the reviewer context? The Notes tab is the right place. See the Adding Notes to Files tutorial for a walkthrough.
Typical Review Timeline
Review times vary based on complexity and the current queue, but most files move through these stages:
Upload Complete
File appears immediately with a Pending status.
Initial Review (1–2 business days)
A reviewer picks up the file and begins analysis.
Detailed Analysis (1–2 business days)
Full review against program requirements.
Results Delivered
Status changes to Completed and the outcome appears in the File Review Results card.
Timeline note: Complex households or missing paperwork can extend these windows. If you want an update mid-review, open the file's details panel and check the Timeline tab first before opening a ticket.
Troubleshooting
I don't see my file in the Uploaded Files table
Start by setting the Property filter to All Properties and the Status filter to All Status, then search for part of the filename. If it's still not there, the upload may not have finished — try uploading again, and open a support ticket if the problem persists.
My file has been Pending for a long time
Open the file's details panel and check the Timeline tab — you may find notes or a rejection reason that explains the delay. If the Timeline is quiet for more than a few business days, a support ticket is the fastest way to get an estimated completion date.
A review came back with "See Findings" — what now?
Click View next to the review. The Review Details tab lists the specific follow-up items we need — usually missing or clarifying documentation. Upload the requested files and, if helpful, add a note so the reviewer knows what changed.